Wednesday, August 29, 2012

Marinated Chick Peas with Greek Herbs


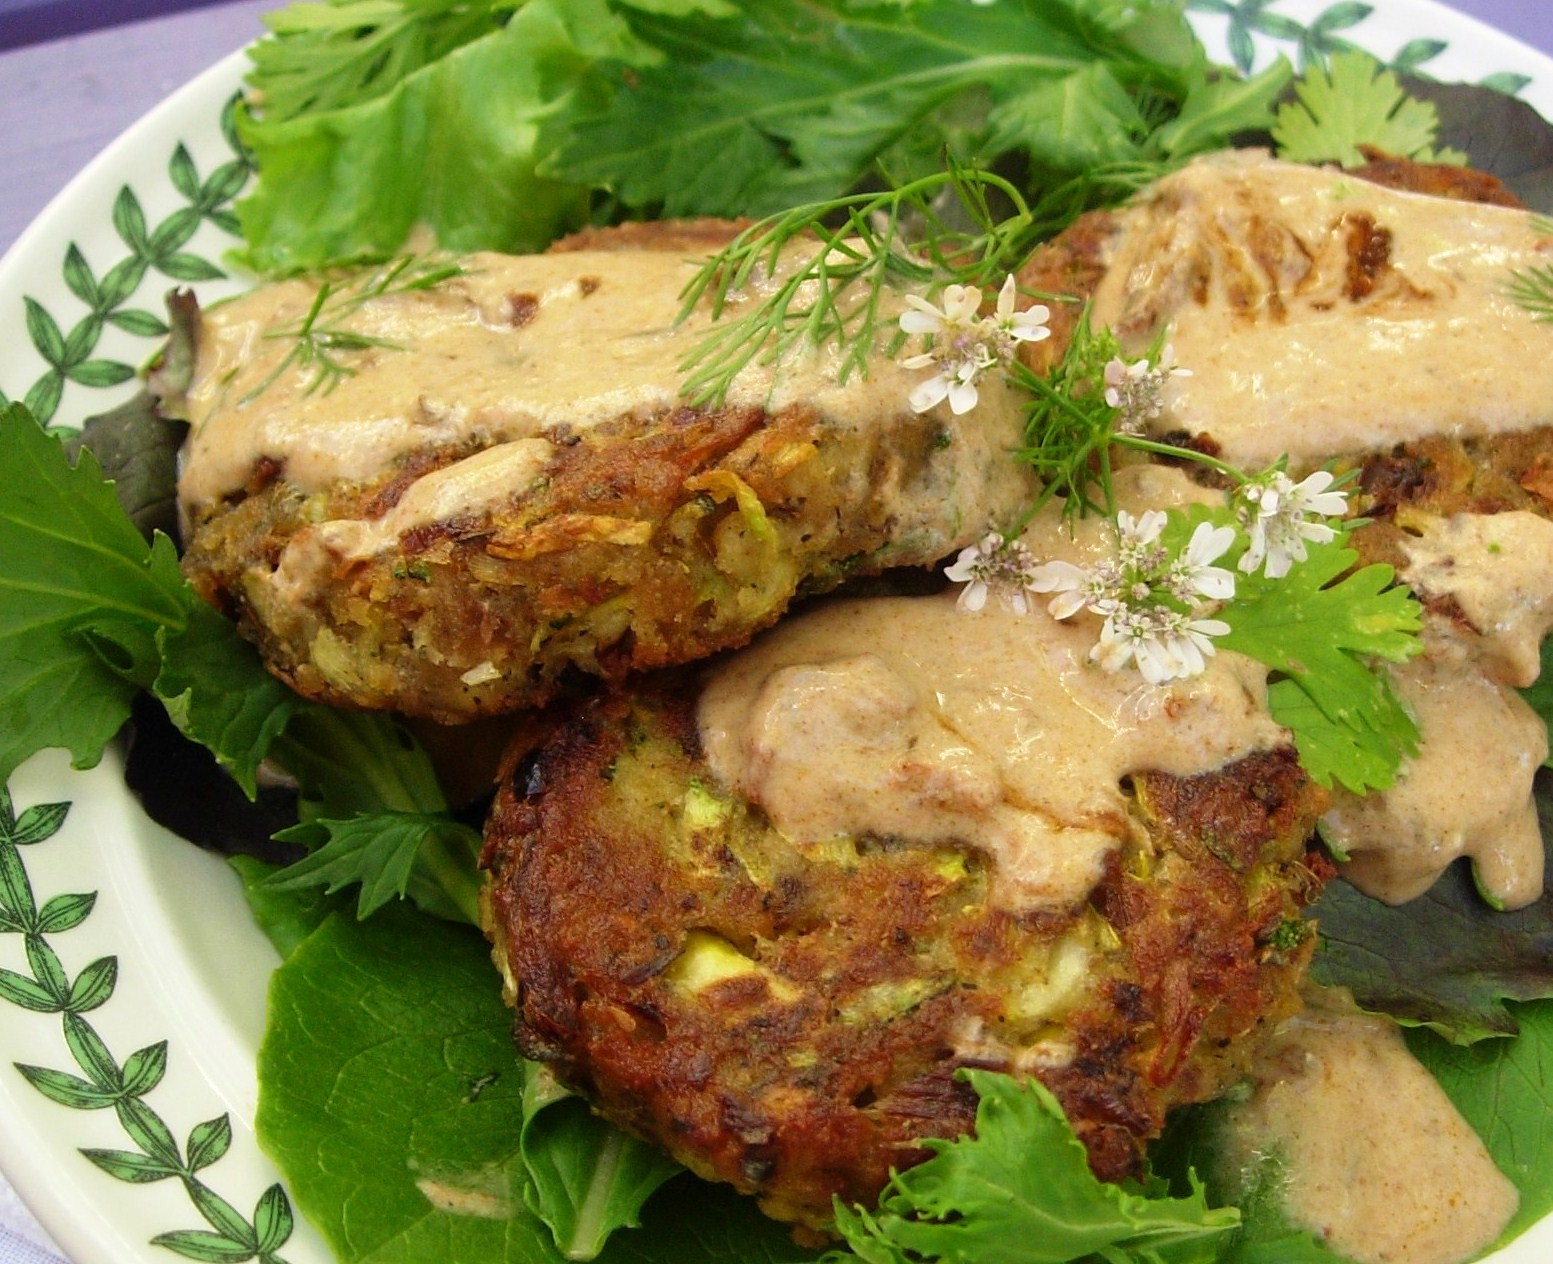
I cooked up a big batch of Garbanzo (chick peas) beans yesterday. This is how I prepared some of them today.

These would be delicious added to an Antipasto or a Greek Salad. You could replace the Mint with fresh Basil too, but I really like the addition of the Mint.  I used a Bergamot Mint which has citrus undertones.  If you want to grow just one mint, choose this one.  It also makes wonderful tea.


Marinated Chick Peas with Greek Herbs

Serving size: 2/3 cup
Servings: 11

930 grams Chick Peas, cooked (about 5 1/4 cups)

2 Tablespoons Garlic, minced

3 Tablespoons
fresh Chives, minced

1/4 cup fresh Mint, rough chop 


1/4 cup fresh Greek Oregano, rough chop

100 gram white or red Onion, sliced thin (1 medium)

6 Tablespoons Olive Oil

8 Tablespoons Balsamic, Apple Cider or Red Wine Vinegar

1/2 teaspoon Sea Salt, pink if you have it

1/8 teaspoon fresh ground Black Pepper

Toss all together and marinate, refrigerated several hours. It gets better as it marinates. I think this could be refrigerated for a week or more and only get better.

Greek Oregano in the Herb Garden

 One tablespoon of the fresh herb packs the same antioxidant punch as a medium-sized apple. Its high concentration of these plant compounds may help prevent cellular damage and reduce the risk of common killers such as cancer, heart disease, and hypertension. Oregano also has antimicrobial qualities. It contains thymol and carvacrol, strong antiseptics used in mouthwashes that inhibit growth of bacteria and fungi.
Fresh Picked Herbs from my Garden
Pretty Mint Flowers, I grow Mint in pots to keep it from taking over my garden.
YUMMY!!
 and it is Healthy Too
Nutritional Data Provided by NutriMirror

Thursday, August 23, 2012

Eggplant Casserole or Red, White, and Blue/Black Casserole


We have been very lucky this year to have an abundance of eggplant growing in the garden. What better way to use it than in this delicious recipe.


Eggplant Casserole or Red, White and Blue/Black Casserole

This recipe is based on one from The Victory Garden Cookbook by Marian Morash.  I have taken some liberty and used a fresh Manchego cheese instead of the Mozzarella called for in the original recipe.  Manchego is a delicious Spanish cheese made from sheep's milk.  Fresh Manchego cheese is only aged about two weeks, which keeps it smooth and buttery. If you can't find Manchego, use Mozzarella.

Makes 8 servings
  • 2 medium Eggplants (about 1 ½ pounds total)
  • 3-4 Red Tomatoes
  • 4 cloves garlic, minced
  • 3 medium Yellow Onions (about 3 cups)
  • ¼  tsp. ground black pepper
  • ½ cup fresh Basil, slice thinly (chiffonade)
  • 6-8 ounces fresh Manchego Cheese
  • ¼ cup Olive Oil
1.   Cut the eggplant in half lengthwise, then slice into half-moon shaped slices, about ½ inches thick.  Salt and drain for 30 minutes.

2.   While the eggplants are draining, cut the onion into fine slices. Mince the garlic and sauté both in a small amount of the olive oil until lightly browned. Remove from heat and set aside.

3.   Dry each eggplant slice with paper towels to remove excess salt and moisture.

4.   Heat skillet over medium-high heat, and coat with olive oil. Fry each eggplant slice on both sides until just lightly browned. This step will help save time in the baking process. Eggplant takes a long time to bake if you don’t do this step.

5.   Slice the tomatoes in half and slice again to resemble half-moons.  Slice the Manchego cheese in the same way.


6.   In a rectangular casserole about 2 inches deep, spread half of the cooked onion and half of the sliced basil.


7.   Begin with the eggplant and stand up the slices at the narrow end of the casserole, then add sliced cheese and the tomatoes.  I press this firmly as I go to keep them together. Repeat this process until the dish is full.

8.   Top the casserole with the remaining cooked onions and sliced basil, spreading evenly.  Drizzle with any remaining olive oil. Top with some freshly ground black pepper.


9.   Cover the casserole with aluminum foil, and bake at 350° for 35-40 minutes.  Remove from the oven and allow to cool for about 10 minutes.

Thursday, August 2, 2012

From Garden to Freezer, Tomatoes and Stuffed Summer Squash,


We bought a used 21 cu ft freezer at an estate sale several weeks ago for $150.00.  I have it pretty full already with tomatoes and summer squash.  I did make some great summer squash enchiladas and put some of those in here too.

It is not well organized yet; I have been so busy with tomatoes that as soon as I have it ready to freeze I just find a spot and shove it in!  When we first bought the freezer Tony went out and bought 4 huge bags of ice just to help fill it.  Now I need the space, but it has come in handy when I am peeling tomatoes.  I use the ice to cool the tomatoes down.  So far I have only used 1/2 bag.  Oh well, lavender lemonade can not be far off.

Here is how I roast my tomatoes, Roasting and Freezing Tomatoes

Summer Squash (roasted) and Tomato Juice in bags
Summer Squash Enchiladas in the containers.
Homemade Salsa, and Tortillas from Vallarta Market, fresh then I froze them.  The tall ziplock bag is full of onions that I chopped then put in small 1 cup serving size bags.  This is a great way to store a lot of onions when they come in.  I do the same thing for celery, when it is on sale I buy a few and chopped them, then freeze.

This years onion harvest.
The entire bottom basket of the freezer is full of roasted summer squash, and I also grated some and froze raw for breads and muffins.

The two top bags are from two jars that cracked after I froze them.  I didn't leave enough head space.  Live and learn, I know to leave at least and inch but maybe the jars were too old.  The cracks were clean so I just removed the glass and rinsed off the frozen tomatoes and then put in the Food saver bags.  I think the jars are stewed tomatoes or could be more salsa.
I also froze a bunch of baked, stuffed scallop and patty pan squash.
I will use the roasted summer squash for sandwiches like this come fall and winter.
I also froze some raw zucchini patties. You can find the recipe on this blog.
Roasted summer squash will come in handy this fall and winter when my Arugula is growing again.


Well, I am off to make some PESTO!  My plants of ready to pick and that means more goodies for the freezer.
Purple Petra Basil
Genovese Basil
Large Leaf Italian Basil

Monday, July 30, 2012

Lemon Verbena Jelly


I finally made Lemon Verbena Lady's lemon verbena jelly.

The only thing I did differently from her recipe was to add a teaspoon of fresh lemon zest.  We have so many lemons that I generally add it to as many recipes as I can! I like the little specks of the zest in the jelly, it looks like little topaz stones glistening in the light.

Start sterilizing your jars first.
Put lids and rings in a separate saucepan, add hot water, don't boil, just keep hot on a low simmer while you prepare the jelly.
I used 2 cups of leaves and some blossoms.
I use a coffee filter to strain the infusion.
This will remove all of the tiny particulates that may be on the leaves.  My Lemon Verbena was also in bloom when I harvested the leaves and I used some blossoms as well.
Straining the infusion.
Nice, clear pretty infusion ready to measure and heat.
Cider vinegar and Lemon Zest
Full rolling boil after adding the pectin. Boil 1 minute only.


Process filled jars in boiling water bath for 5 minutes.
This jelly is so delicious; whole grain bread a bit of the jelly and goat cheese would be delightful snack.

If you don't have a plant, look for one. You can use the leaves for tea, or the Lemon Bread recipe.  I also make a Lemon Verbena and Tarragon Sorbet that is nice to have for dessert on these warm nights.

Click on the photo to enlarge.
Here is my Lemon Verbena plant. It stands at least 5' tall and as wide.
Closer view of  the flower is on the lower right.
Sneaking in the photo on the top left is the flower from Purpletop Vervain (Verbena bonariensis) which is growing in the background.  It uses the Lemon Verbena (Aloysia triphylla) for support.


Wednesday, June 20, 2012

Summer Squash Patties with Ancho Chili Yogurt Sauce and Cilantro Flower Garnish

 
Summer squash is often overcooked into a flavorless mash, which is sad because these squash have a delicate, delicious flavor if prepared properly.  For this recipe, I used zucchini, crookneck and scallop squash prepared with the flavors of the Southwest

If you are not growing your own, Farmers Markets have these beauties available from June through early September in most areas.  Pick out small squash to get the best flavor. Avoid any patty pan over 4 inches wide; the best size for crookneck and zucchini is less than 6 inches.   The seeds begin to develop if much larger than that.

Be sure to stop over to the Dandelion House  and visit with Deborah Jean's garden and blog hop party!


Summer Squash Patties with Ancho Chili Yogurt Sauce, and Cilantro Flower Garnish
Makes 10 Patties
PRINTABLE RECIPE 

2 cups packed, grated, drained, Summer Squash (9 ounces)
1 cup unseasoned Bread Crumbs
1 Egg beaten
1 tablespoon (¼ ounce) dried Ancho Chili, chopped (first soaked in 1 cup boiling water for 10 minutes then chopped)
¼ cup Green Onion with tops (¾ ounce)
½ teaspoon ground Coriander
1 teaspoon dried Mexican Oregano
1 tablespoon Butter, softened
Spring lettuces (optional)
Garnish: Cilantro leaves and flowers (optional)

For Frying: ¼ cup Canola Oil, you should have around 2 tablespoons left in the skillet after frying.

Place grated squash in a colander and press down with a plate that has a weight on top to drain out the juice ̶ I used a quart jar filled with water for the weight. Allow at least 15 minutes and up to 30 to drain.

Beat the egg, measure or weigh out the drained summer squash and add the remaining ingredients, mixing just until blended.  Shape into 10 patties. 
Heat skillet over medium high heat, then add the oil.  Fry the patties, 5 at a time until golden brown on each side. This takes about 3 minutes per side.  Don’t move them for the first minute or two so they won’t stick to the pan when you go to turn them.  This works every time, perfectly, if you are patient. (I use a stainless steel pan, if using a non-stick pan you can probably get away with less oil.) Remove from pan and drain on paper towels.

Serve warm, atop a bed of spring lettuces topped with Ancho Chili Yogurt Sauce and Cilantro leaves and flowers.


Ancho Chili Yogurt Sauce
Makes ¾ cup sauce

½ cup Plain Non-Fat Yogurt
¼ tsp. Sea Salt
¼ cup Ancho Chili Sauce (recipe below)
Combine all ingredients stirring well, cover and refrigerate while making the squash patties.


Ancho Chili Sauce
Recipe makes a little over 3 cups.

4 to 6 Ancho Chili pods dried (if large use 4)
3 cups Boiling Water
1 tablespoon Olive Oil
2 cloves Garlic, minced
1 tablespoon ground Cumin
½ cup chopped, Brown Onion
½ teaspoon Sea Salt
1 cup Tomato Sauce (Mexican Sauce is fine)

Remove the stem end and seeds from the Ancho Chili pods.  Soak pods in 3 cups of boiling water until softened, about 15 to 30 minutes.  Pour into a blender container and add the remaining ingredients.  Blend until smooth. Pour mixture into a skillet, add tomato sauce and simmer over low heat for 20 to 30 minutes. 


This sauce is also very good for enchiladas. It is a dark, rich flavored sauce.


The nutritional information is for 3 patties with 2 servings of sauce and does not include the spring greens.


Nutritional Information Provided by NutriMirror